
How to Repair Cracks in Exposed Aggregate Concrete: A Comprehensive Guide
Introduction
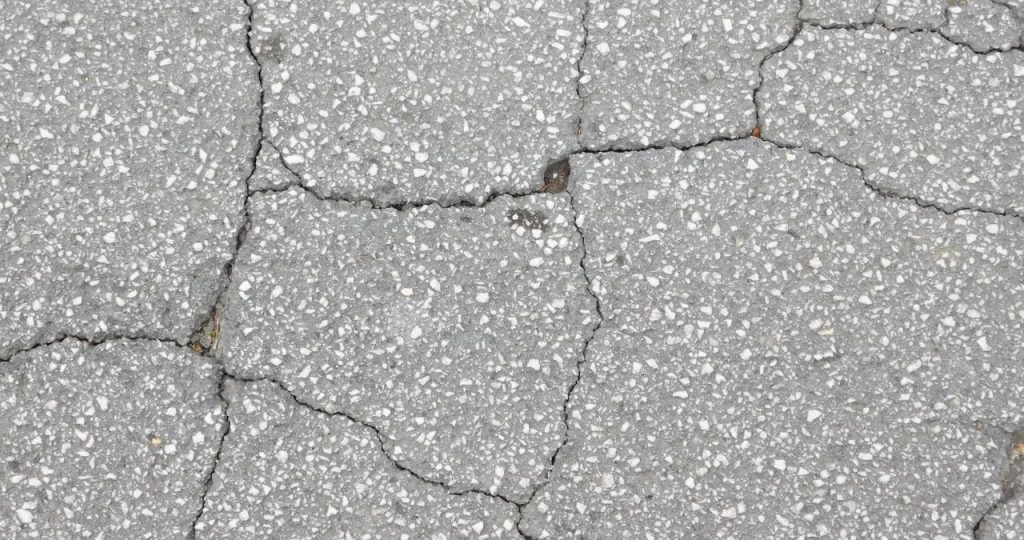
Exposed aggregate concrete, while known for its durability and aesthetic appeal, is not immune to wear and tear.
Over time, factors like weather fluctuations, heavy loads, or ground movements may cause cracks to form.
These cracks, if left unaddressed, can lead to further damage and compromise the integrity of your concrete surface.
This article aims to guide you through the process of repairing cracks in exposed aggregate concrete to ensure your surface remains robust and visually appealing.
I. Evaluating the Damage
The first step in any repair process is assessing the extent of the damage.
Size and Depth of Cracks
Cracks can range from hairline fractures to larger, more noticeable ones. Small cracks, less than 1/4 inch wide, are relatively straightforward to fix. Larger cracks, however, may require a more intensive repair process or even professional intervention.
Cause of Cracks
Understanding the underlying cause of the cracks can help prevent them from recurring. Common causes can include weather changes, ground shifts, or an initial improper installation.
II. Materials and Tools Needed
Before starting the repair process, gather all necessary materials and tools.
Concrete Crack Filler or Repair Product
This is the main material that will fill the cracks. For small, shallow cracks, a simple concrete crack filler will suffice. For deeper or wider cracks, a more substantial concrete repair product might be needed.
Trowel or Putty Knife
This tool is used to apply the repair product into the cracks and smooth the surface afterward.
Wire Brush
This can be useful for cleaning the cracks before repair.
Protective Gear
Safety goggles and gloves should be worn during the repair process to ensure your safety.
III. Preparing the Cracked Area
Proper preparation of the cracked area is vital to a successful repair.
Cleaning
Use the wire brush to clean out any loose concrete, debris, or dust within the cracks. This ensures a clean surface for the repair product to adhere to.
Preparing the Repair Product
Follow the manufacturer’s instructions to prepare your chosen concrete crack filler or repair product.
IV. Repairing the Cracks
With your surface prepared and your materials ready, you can now proceed with the repair process.
Application
Use your trowel or putty knife to apply the repair product to the cracks. Be sure to press the product firmly into the cracks to ensure they are filled completely.
Smoothing
After filling, smooth out the repair product so that it aligns with the surface level of the rest of the concrete.
V. Curing and Finishing
After the cracks have been filled, it’s crucial to allow the repair product to cure properly.
Curing Time
The curing time can vary depending on the repair product used, so it’s essential to refer to the manufacturer’s instructions.
Sealing
After the repair has cured, it’s recommended to seal the entire surface of the concrete. This not only protects the repaired area but also helps to enhance the overall look of the exposed aggregate concrete.
Conclusion
Maintaining your exposed aggregate concrete goes beyond regular cleaning – it involves timely repair of cracks to prevent further damage.
By following this guide, you can address minor cracks on your own, helping to prolong the lifespan of your concrete and keep it looking its best.
Remember, if the damage is severe or extensive, it’s always wise to call in a professional to ensure the repairs are carried out correctly and safely.